

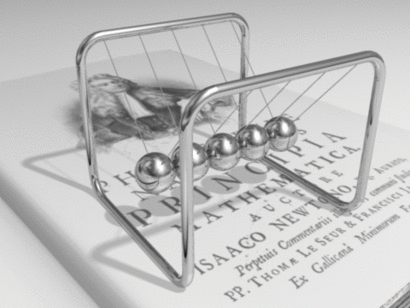
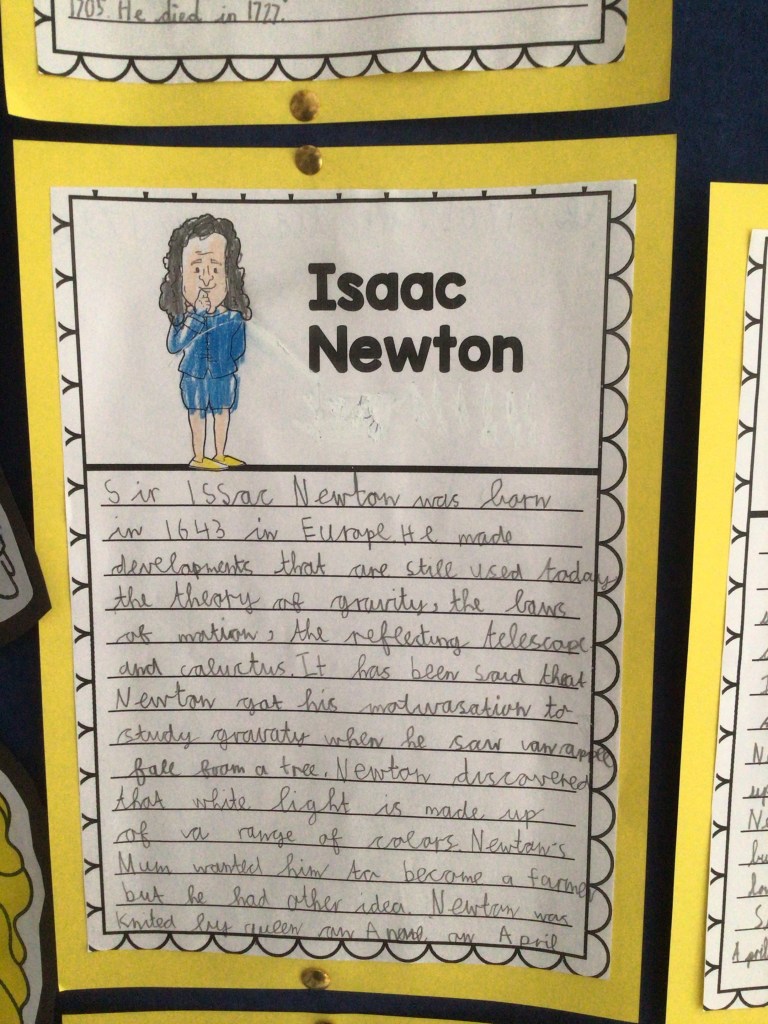
Newton’s Cradle is a toy named after the very famous scientist, Sir Isaac Newton. Newton’s Cradle is a device that demonstrates momentum and energy with swinging spheres. Before we embarked on making and assembling Newton’s Cradle, we decided to first find out about Isaac Newton himself and why he was a famous scientist. Did you know that Newton’s mother actually wanted him to be a farmer? Newton is perhaps best known for his work on gravity and his three laws of motion. He was also well known for his work on light and colour. The famous story of an apple falling to the ground from a tree illustrates how Newton’s work was inspired by things he observed in the world around him.

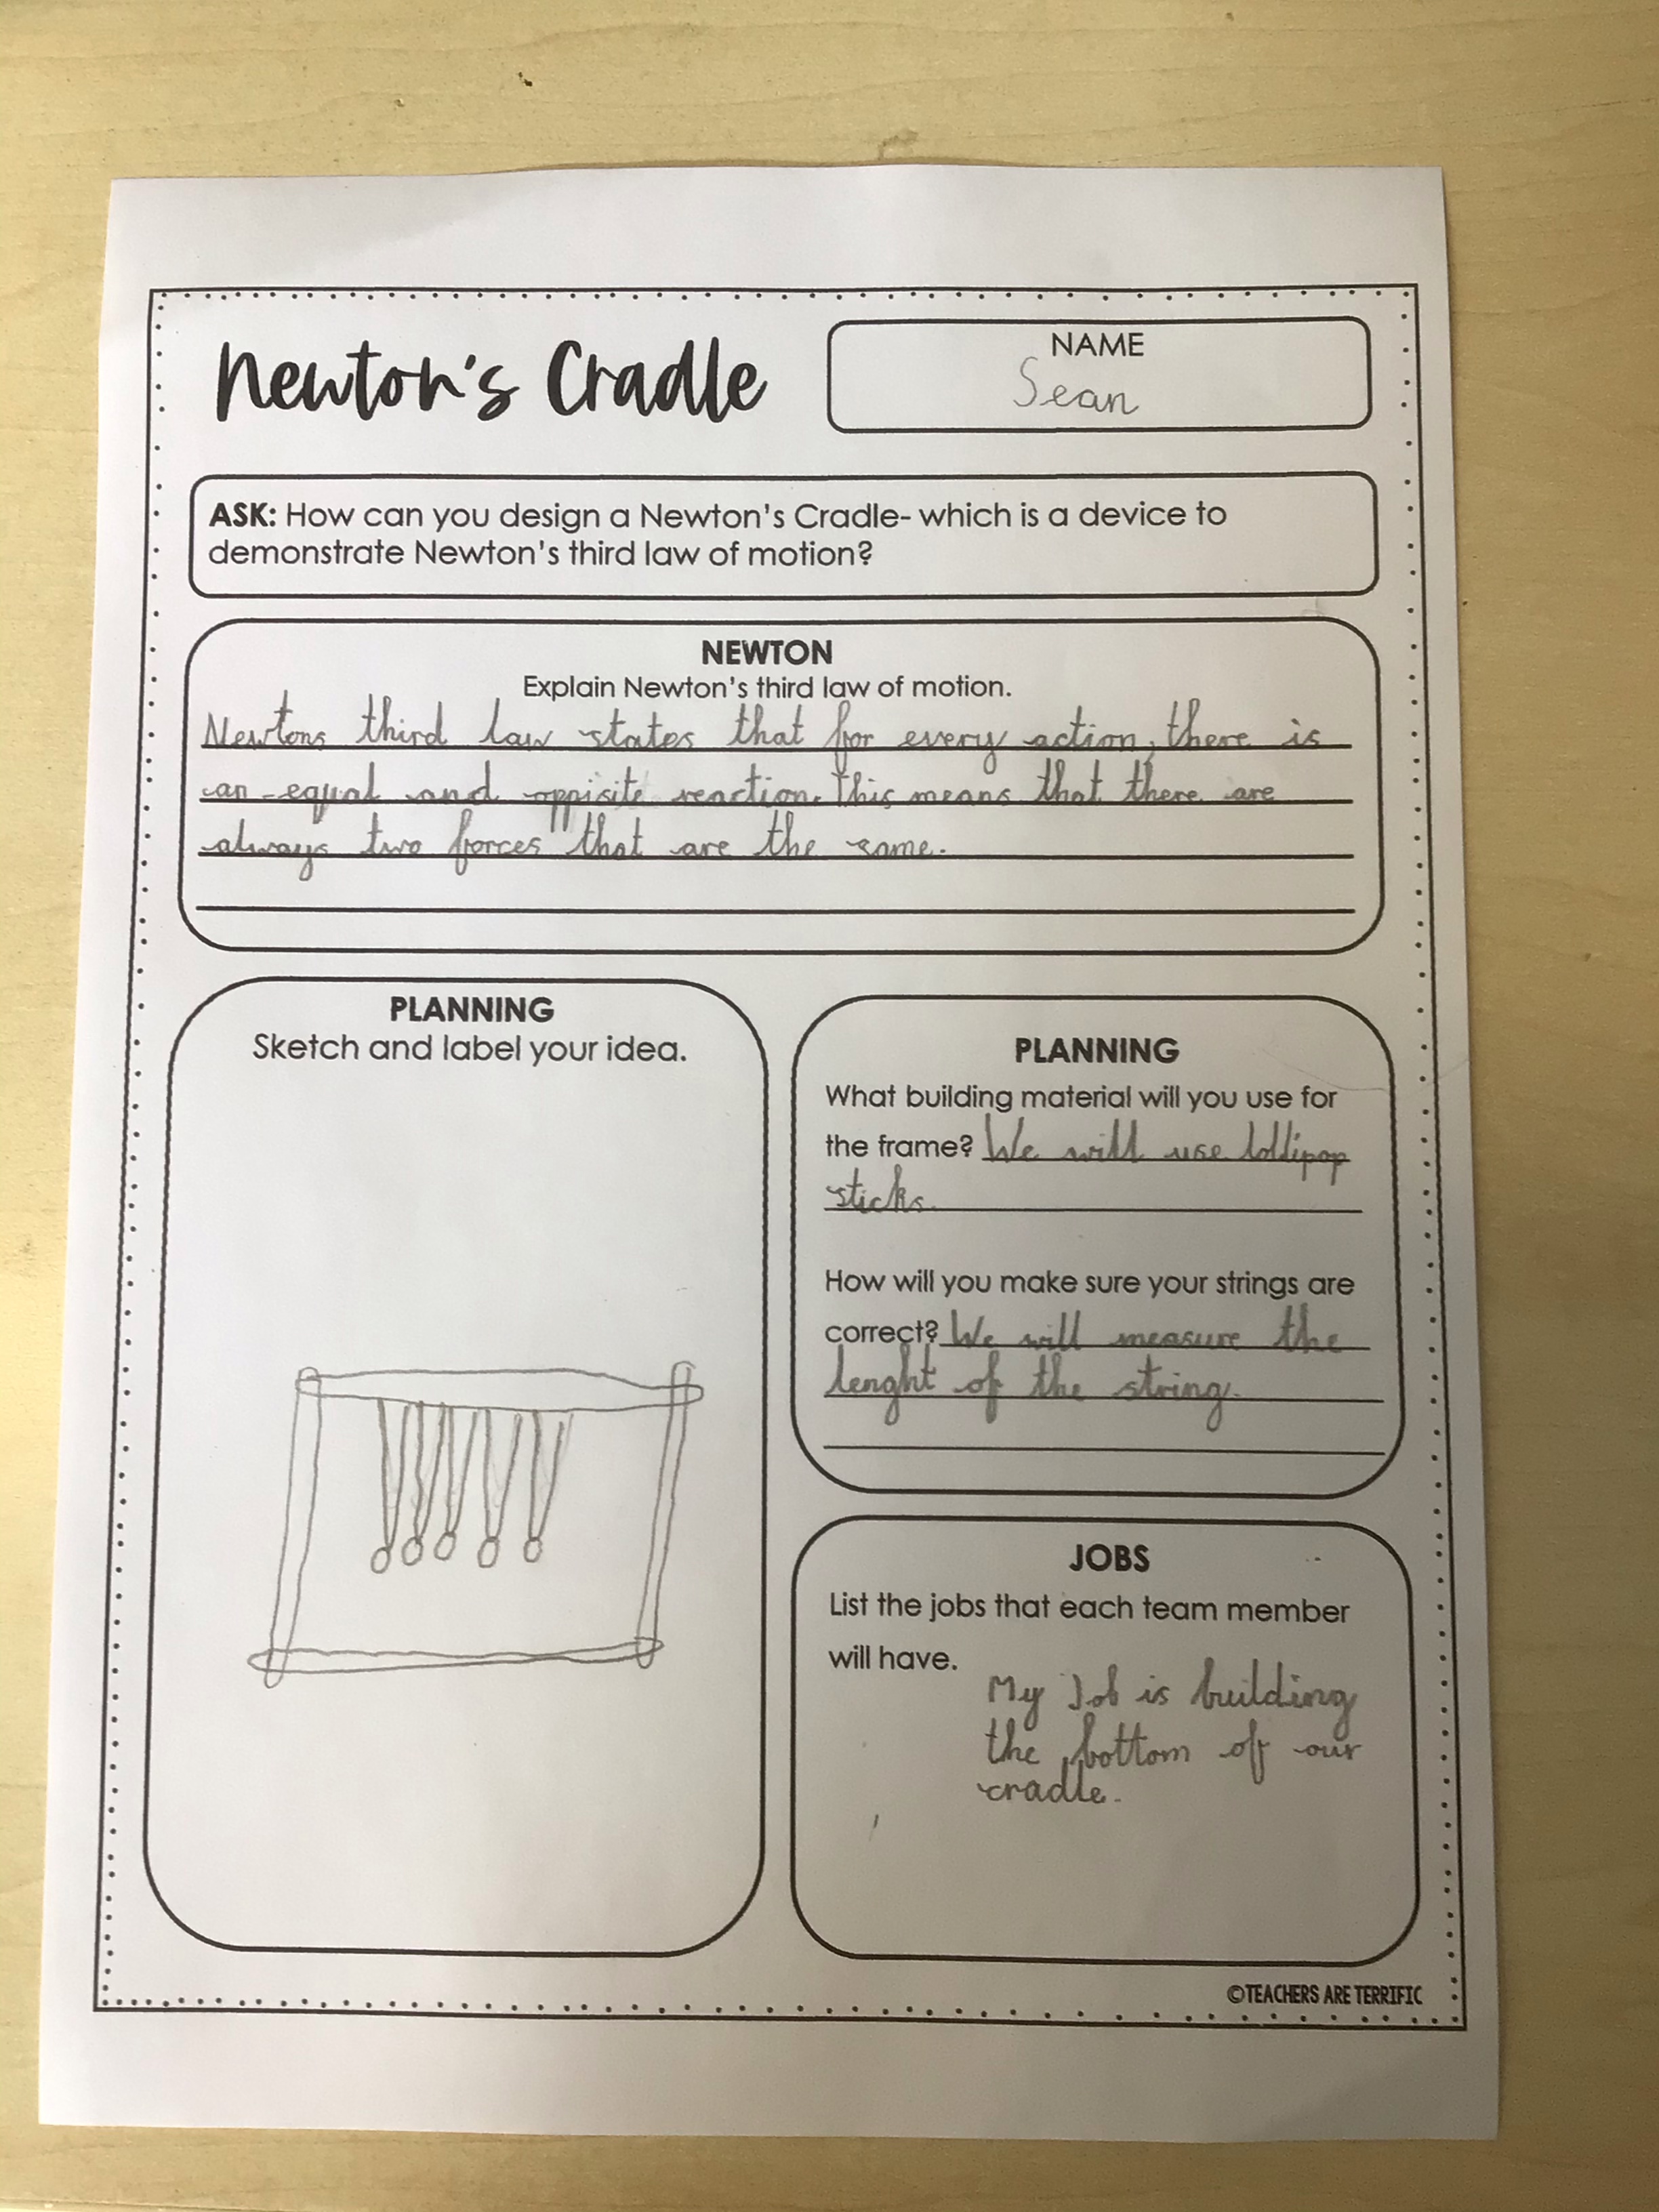
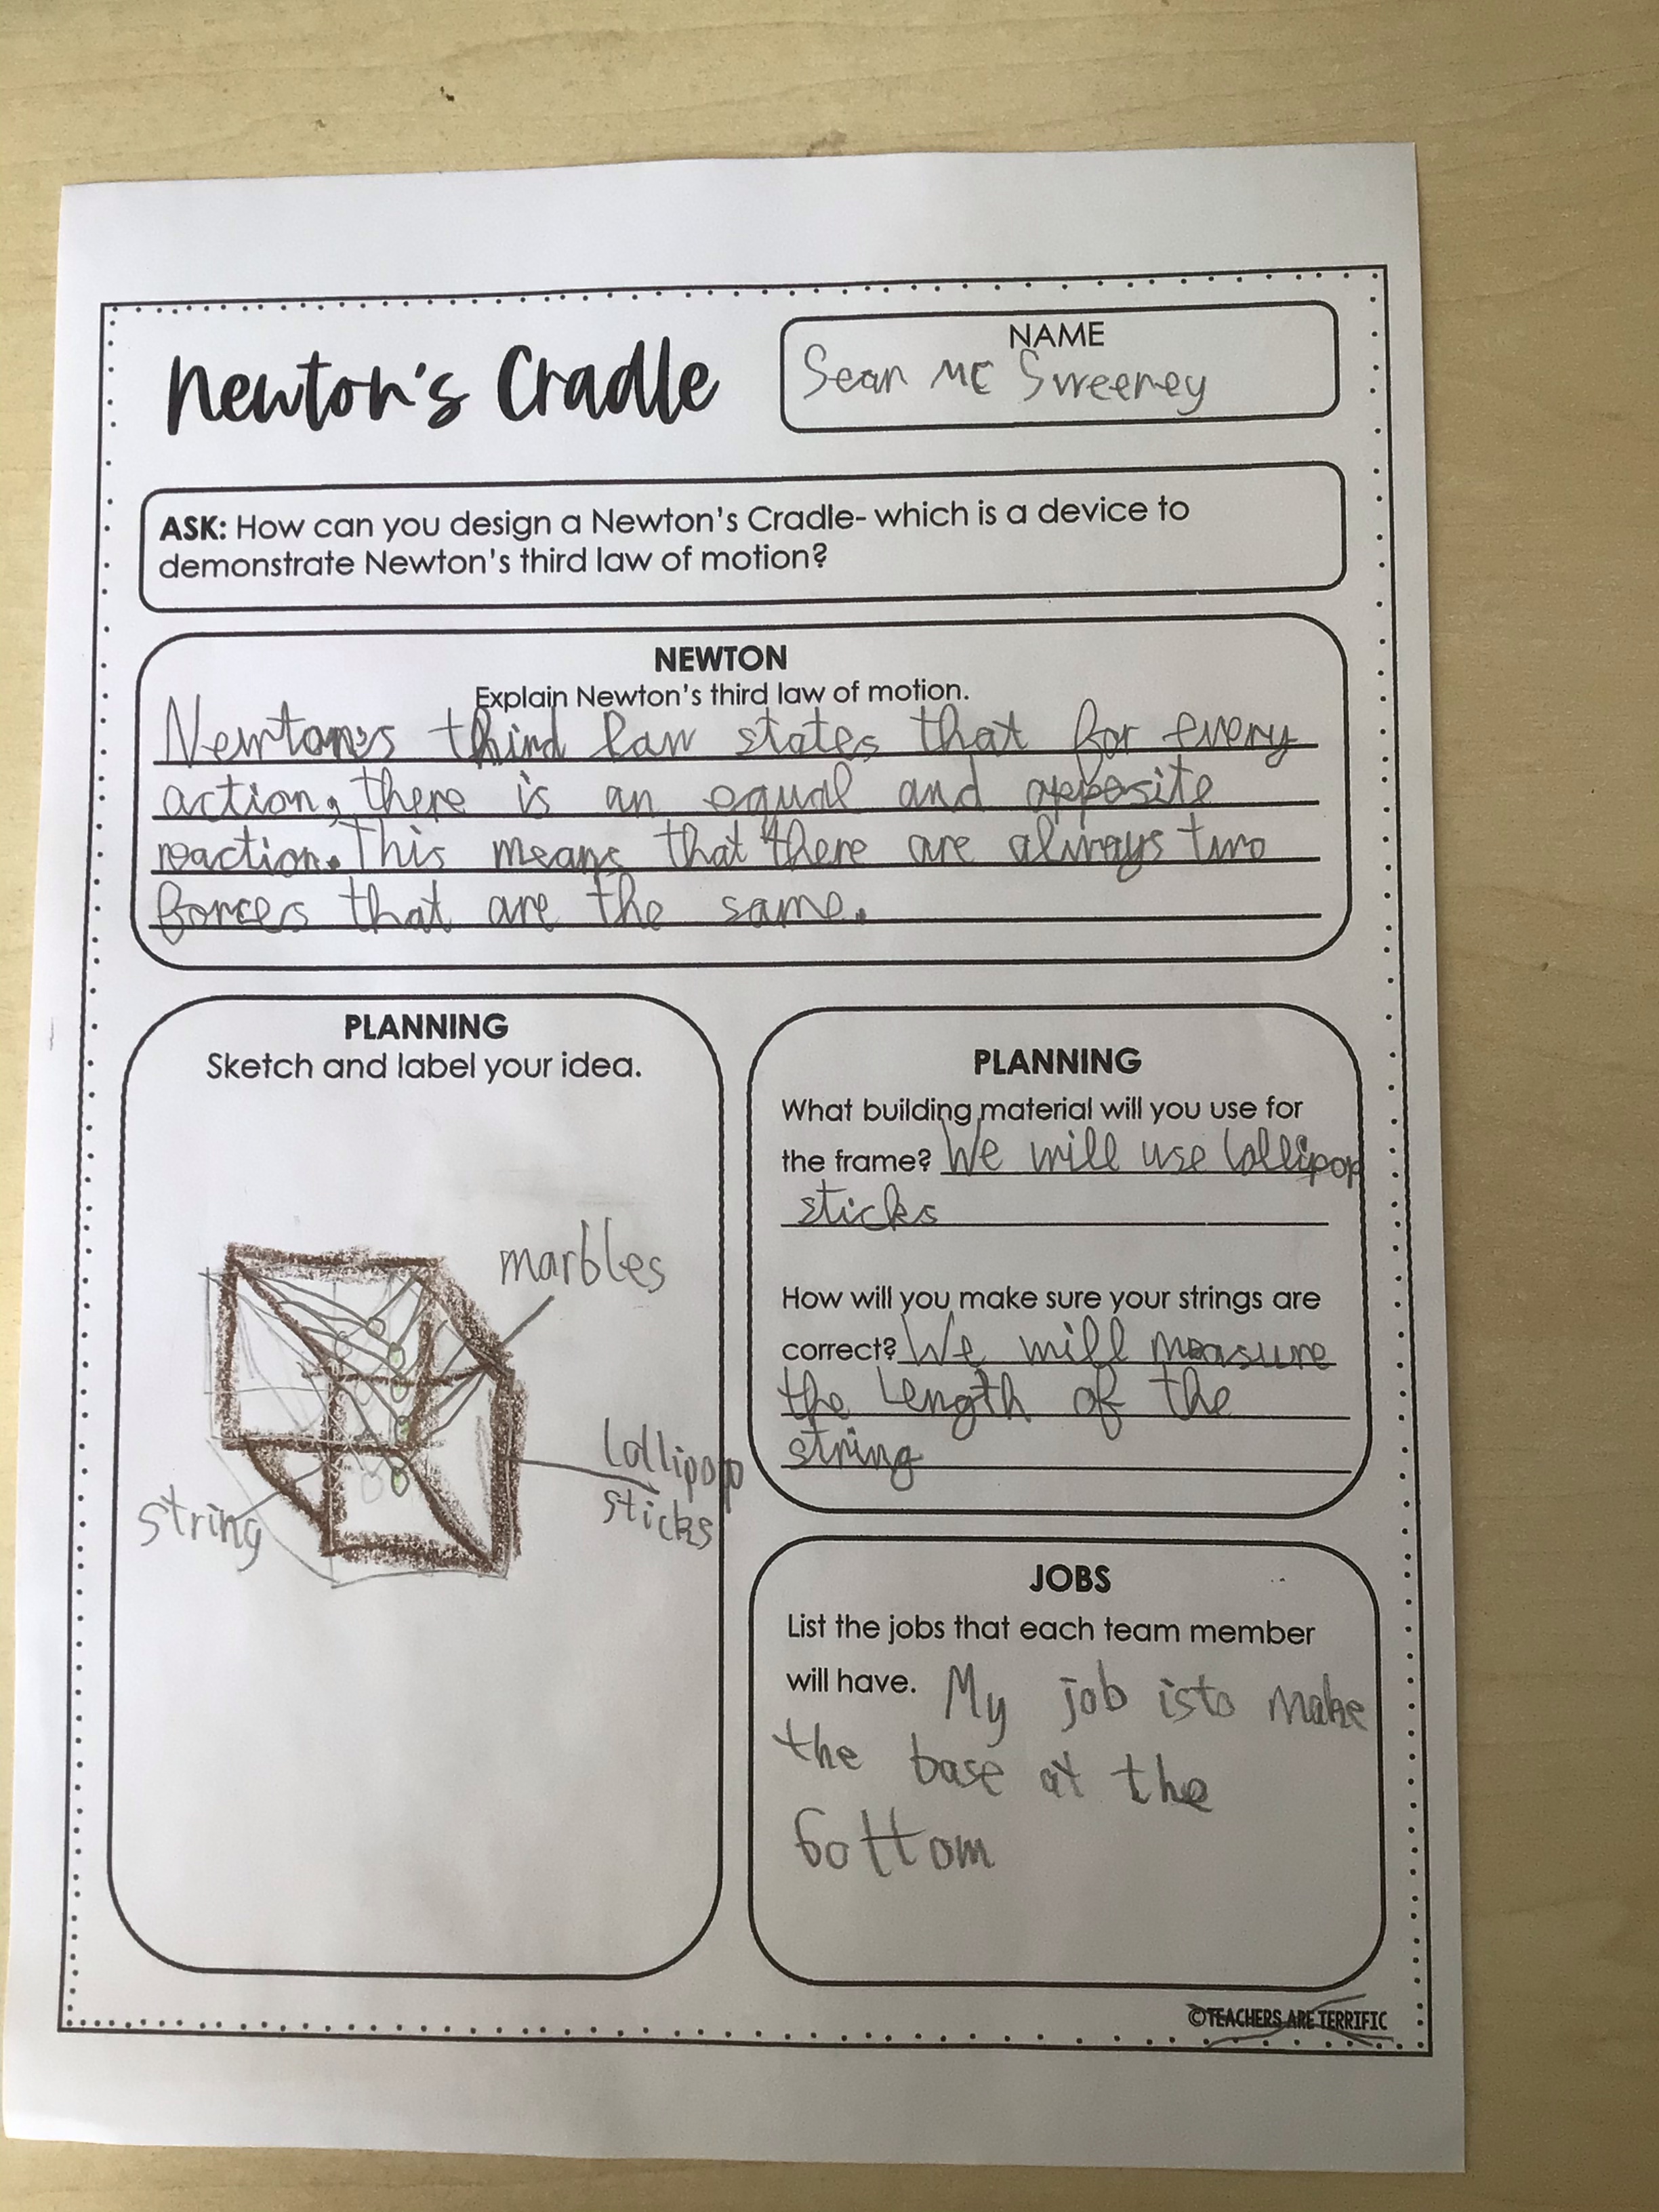
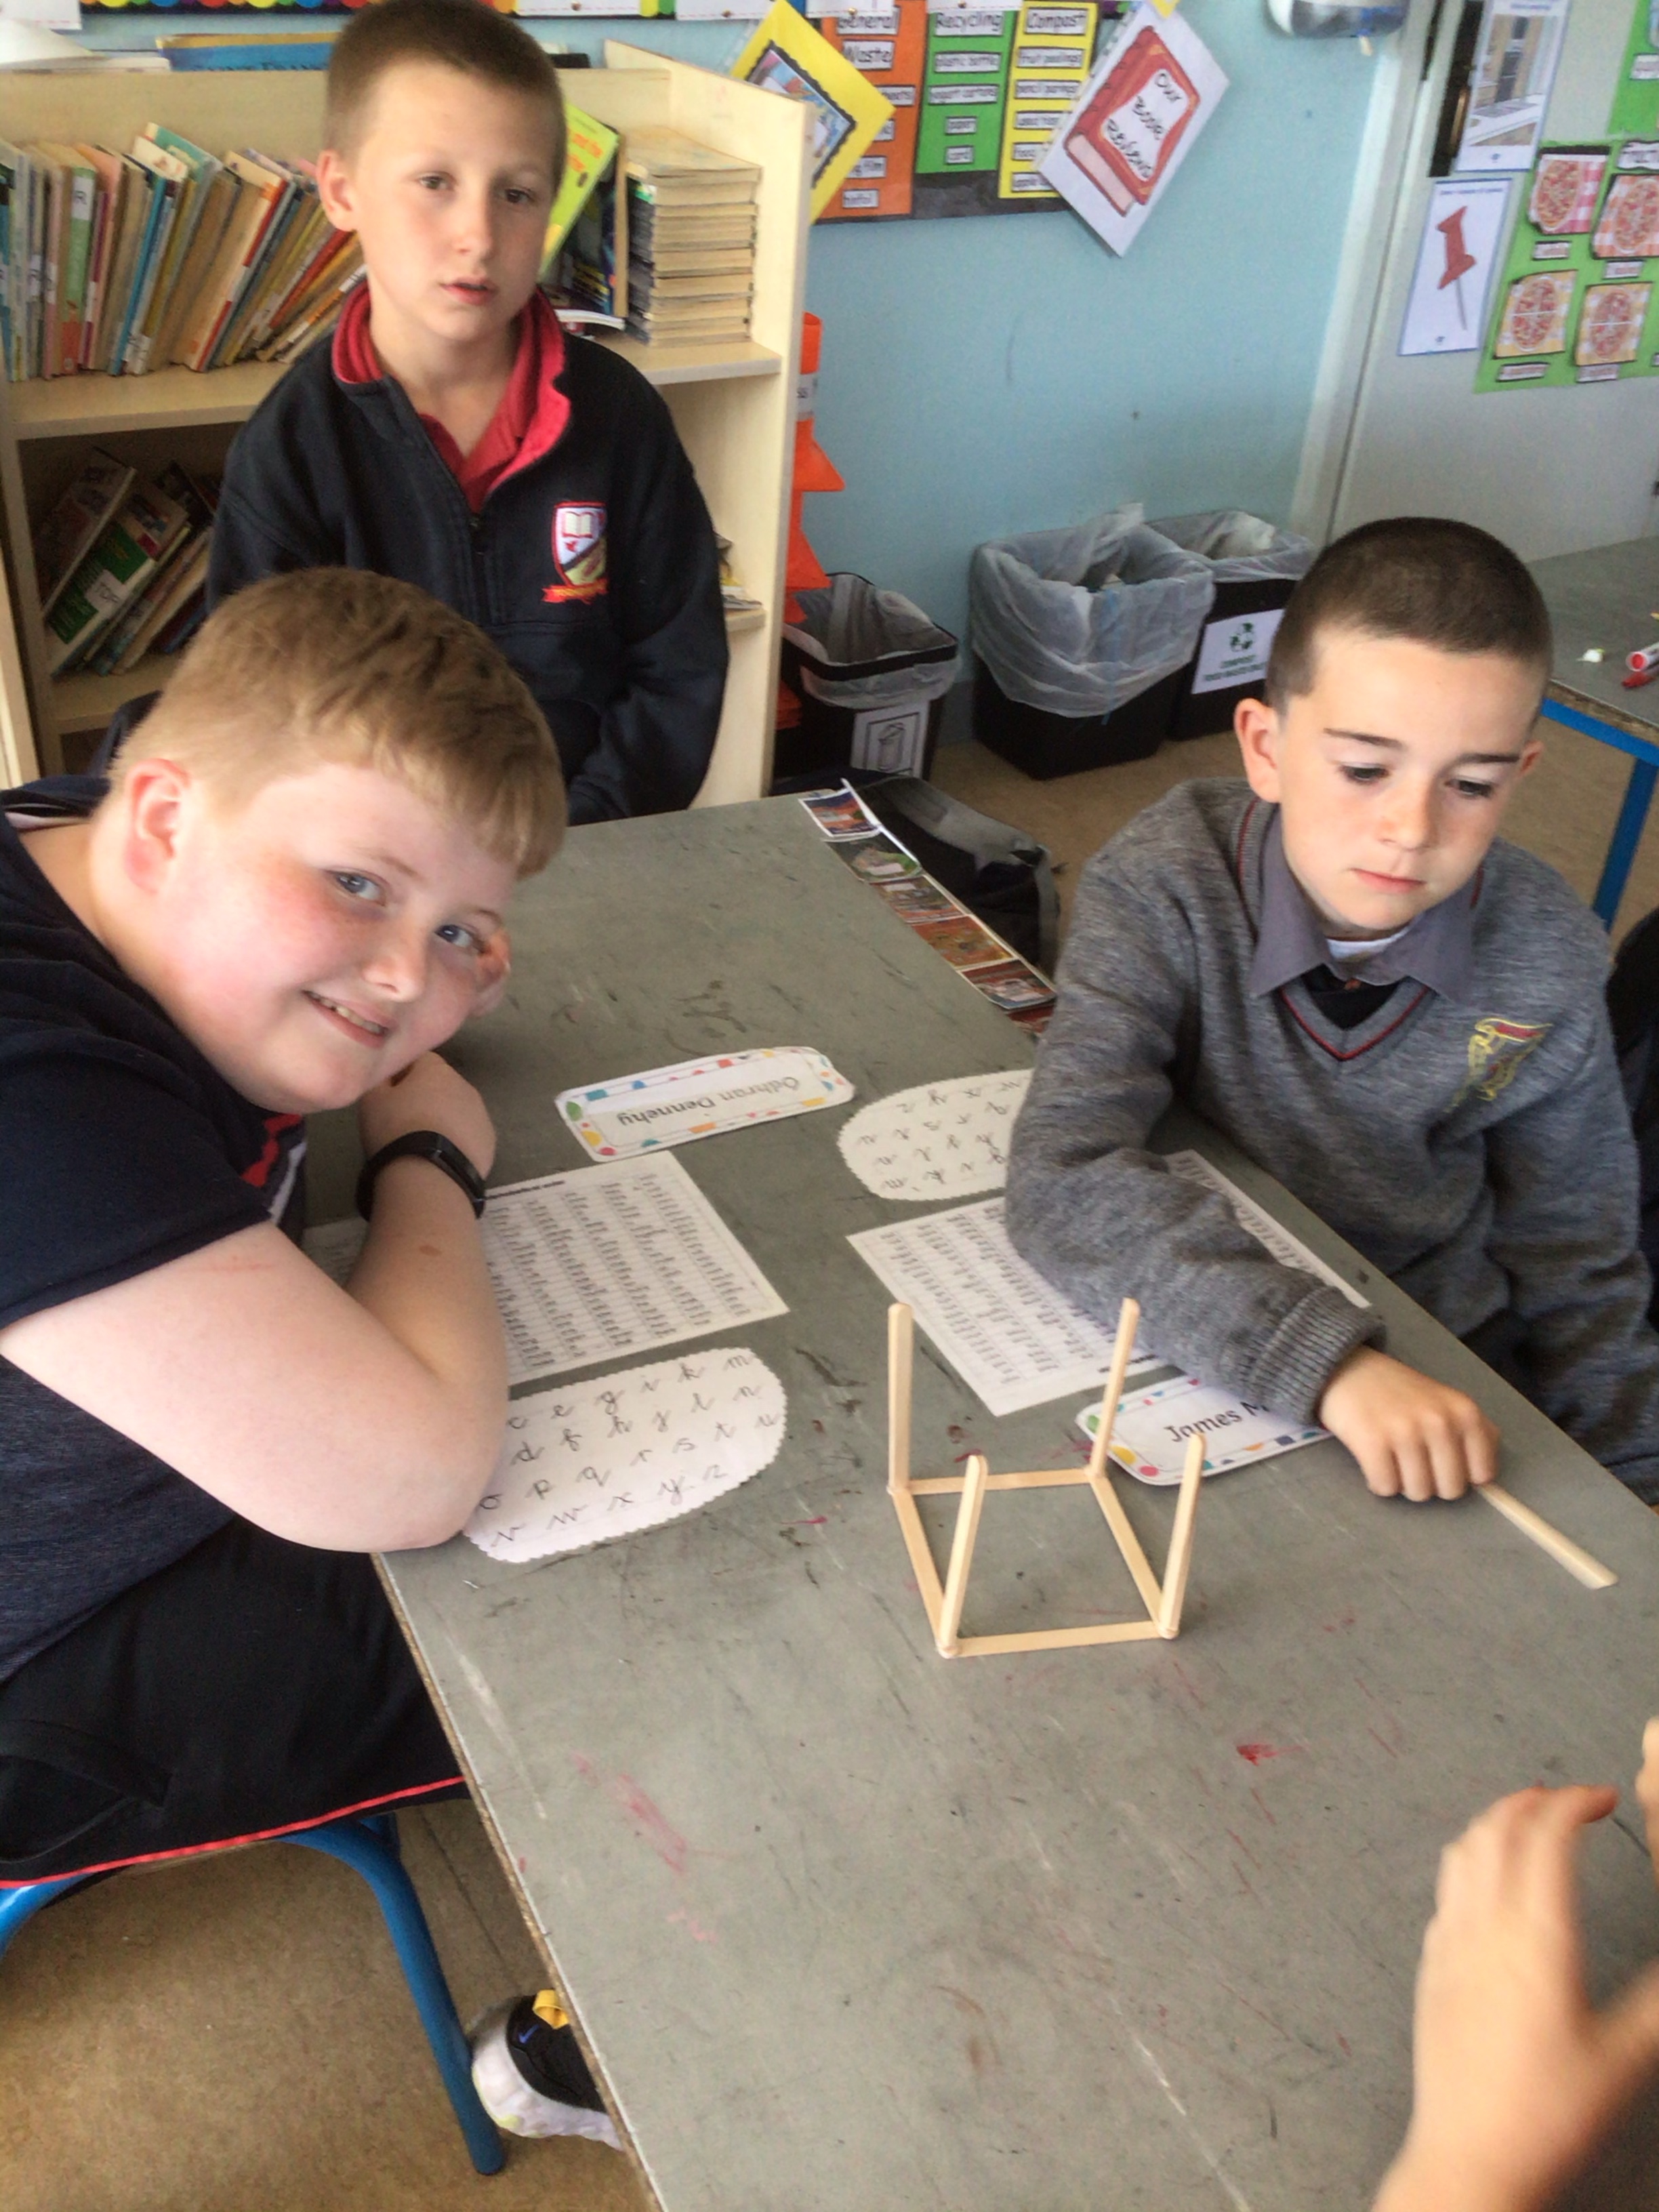
Planning: As with any experiment, the planning is crucial. We felt that we should make sketches of what we thought our Newton’s Cradle should look like. We also spent time learning about Newton’s Third Law of Motion; for every action, there is an equal and opposite reaction. This means that there are always two forces that are the same. We felt that it was very important that each member of their team had a specific job, whether it be assembling, testing, measuring the strings or making sure the materials were correct.
Materials: After much discussion we decided on the materials we should use; craft sticks, straws, marbles, twine, ruler and hot glue guns.
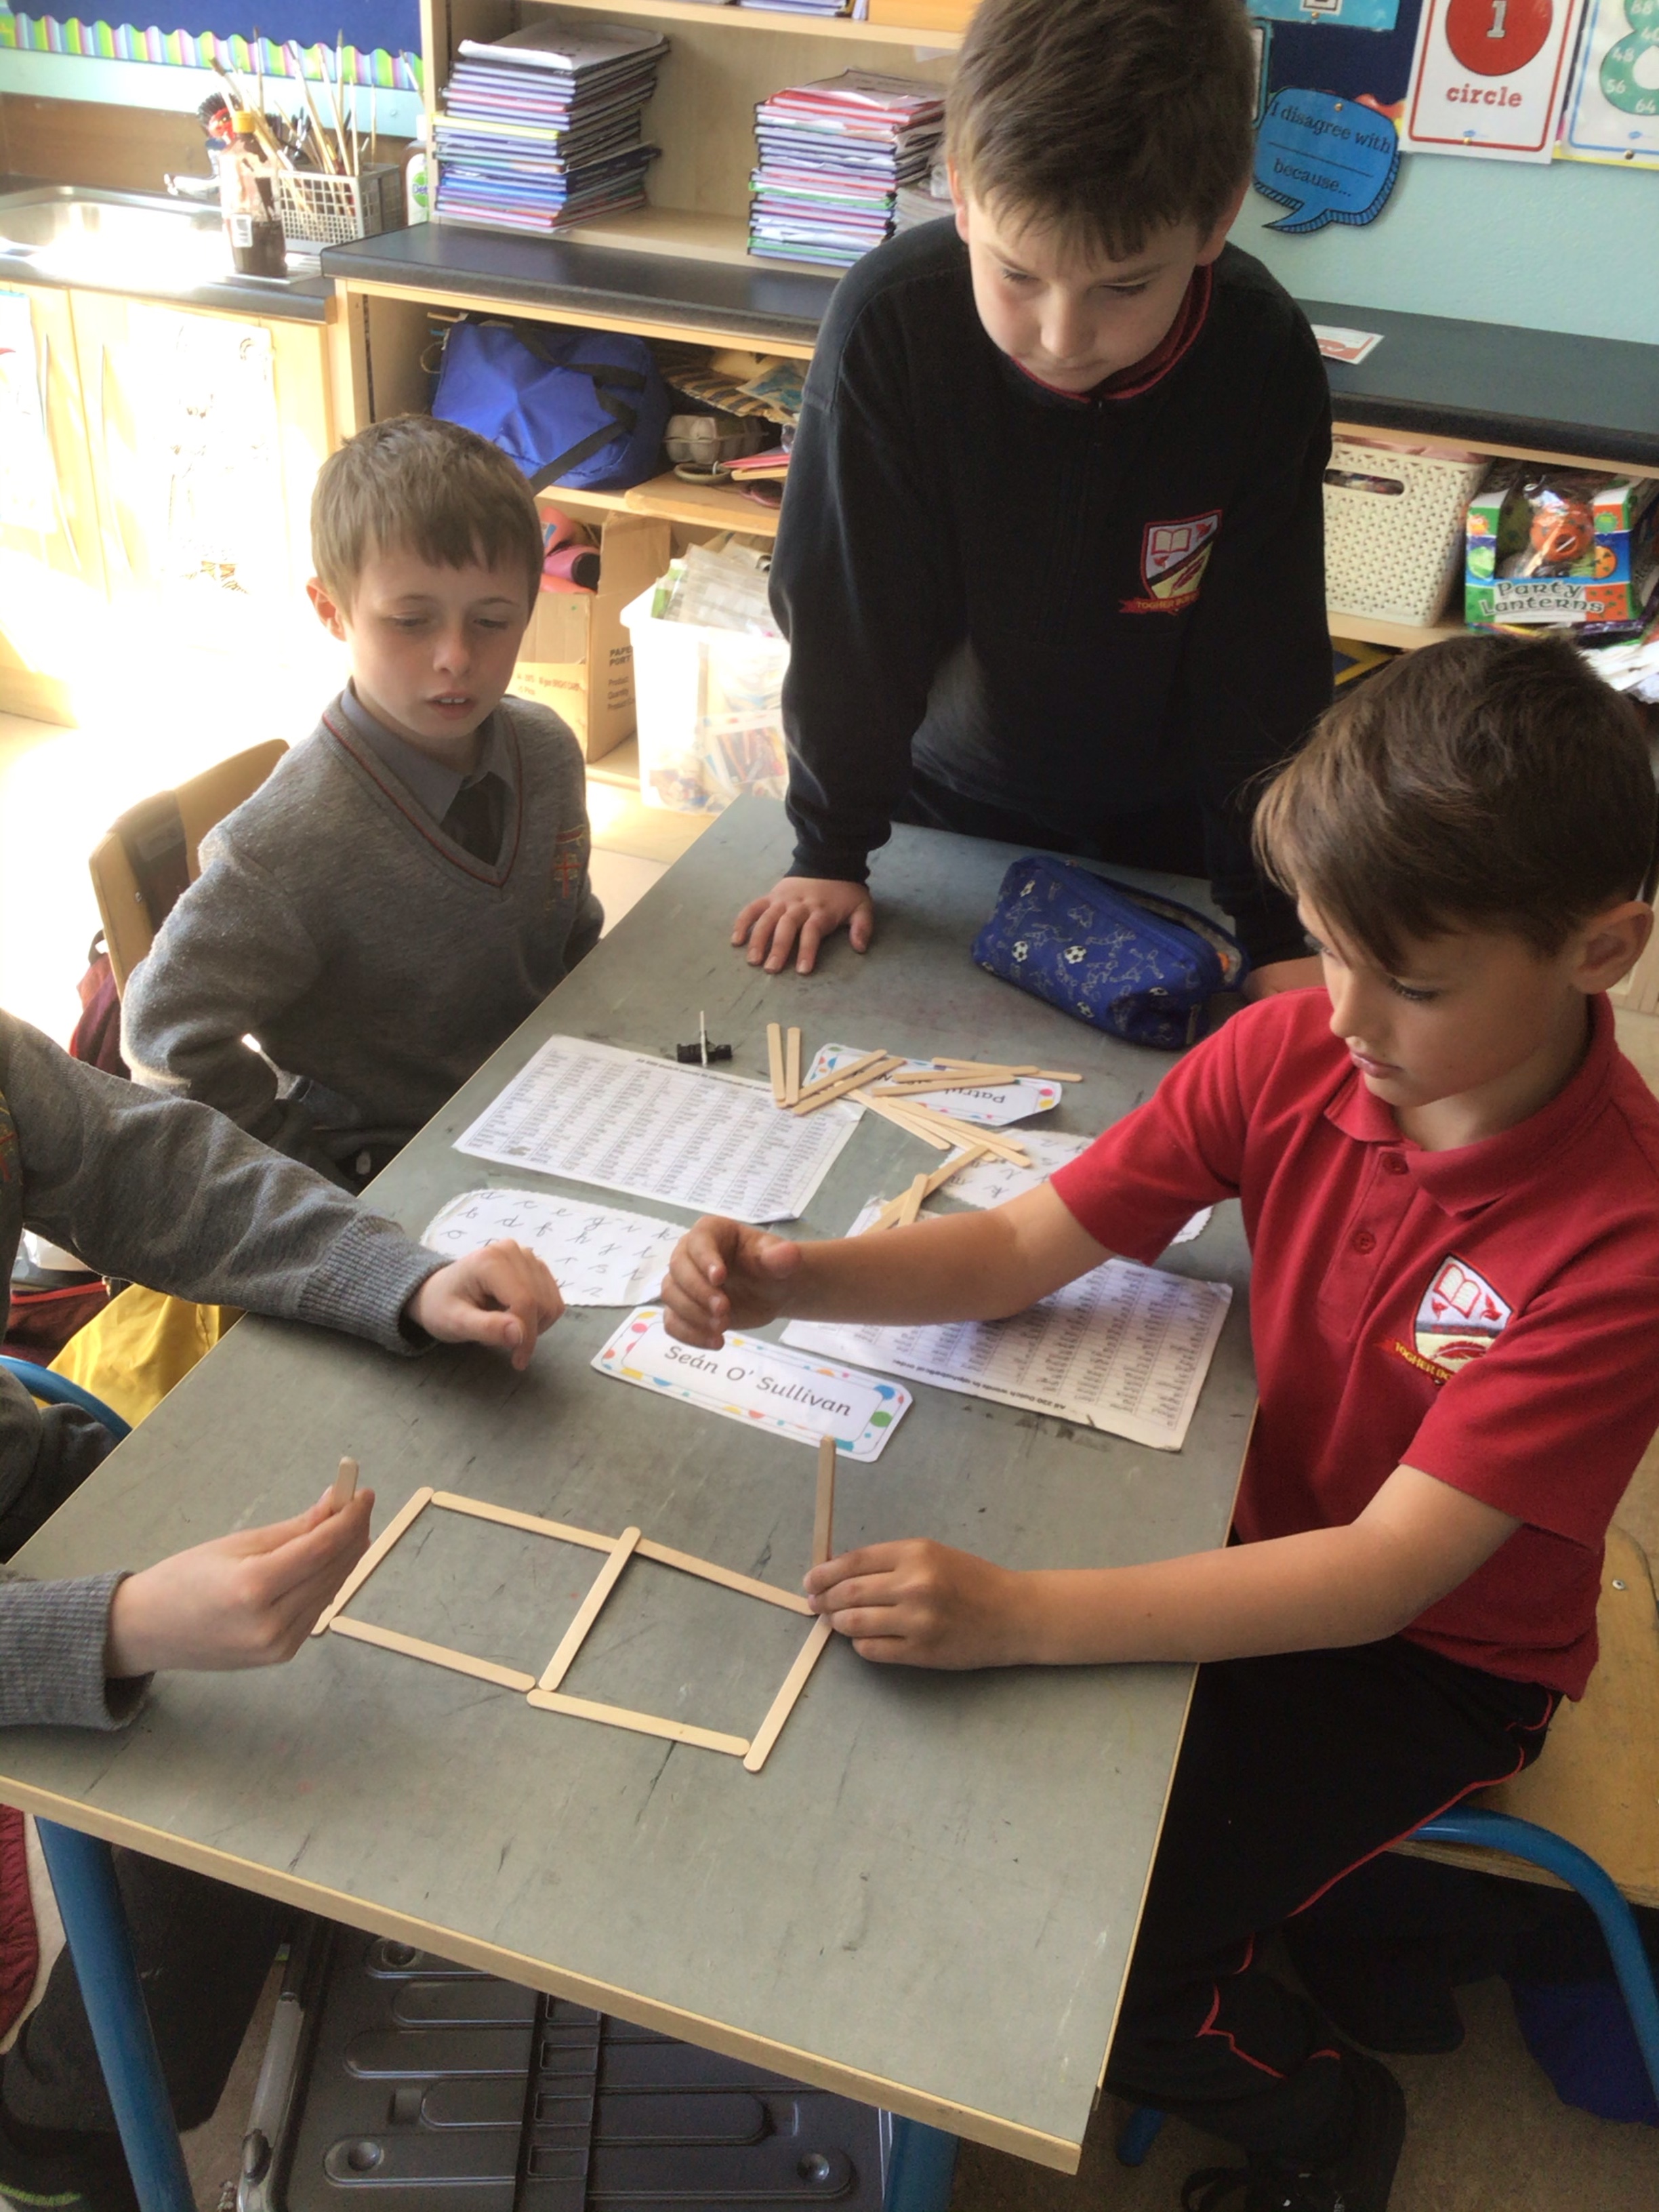
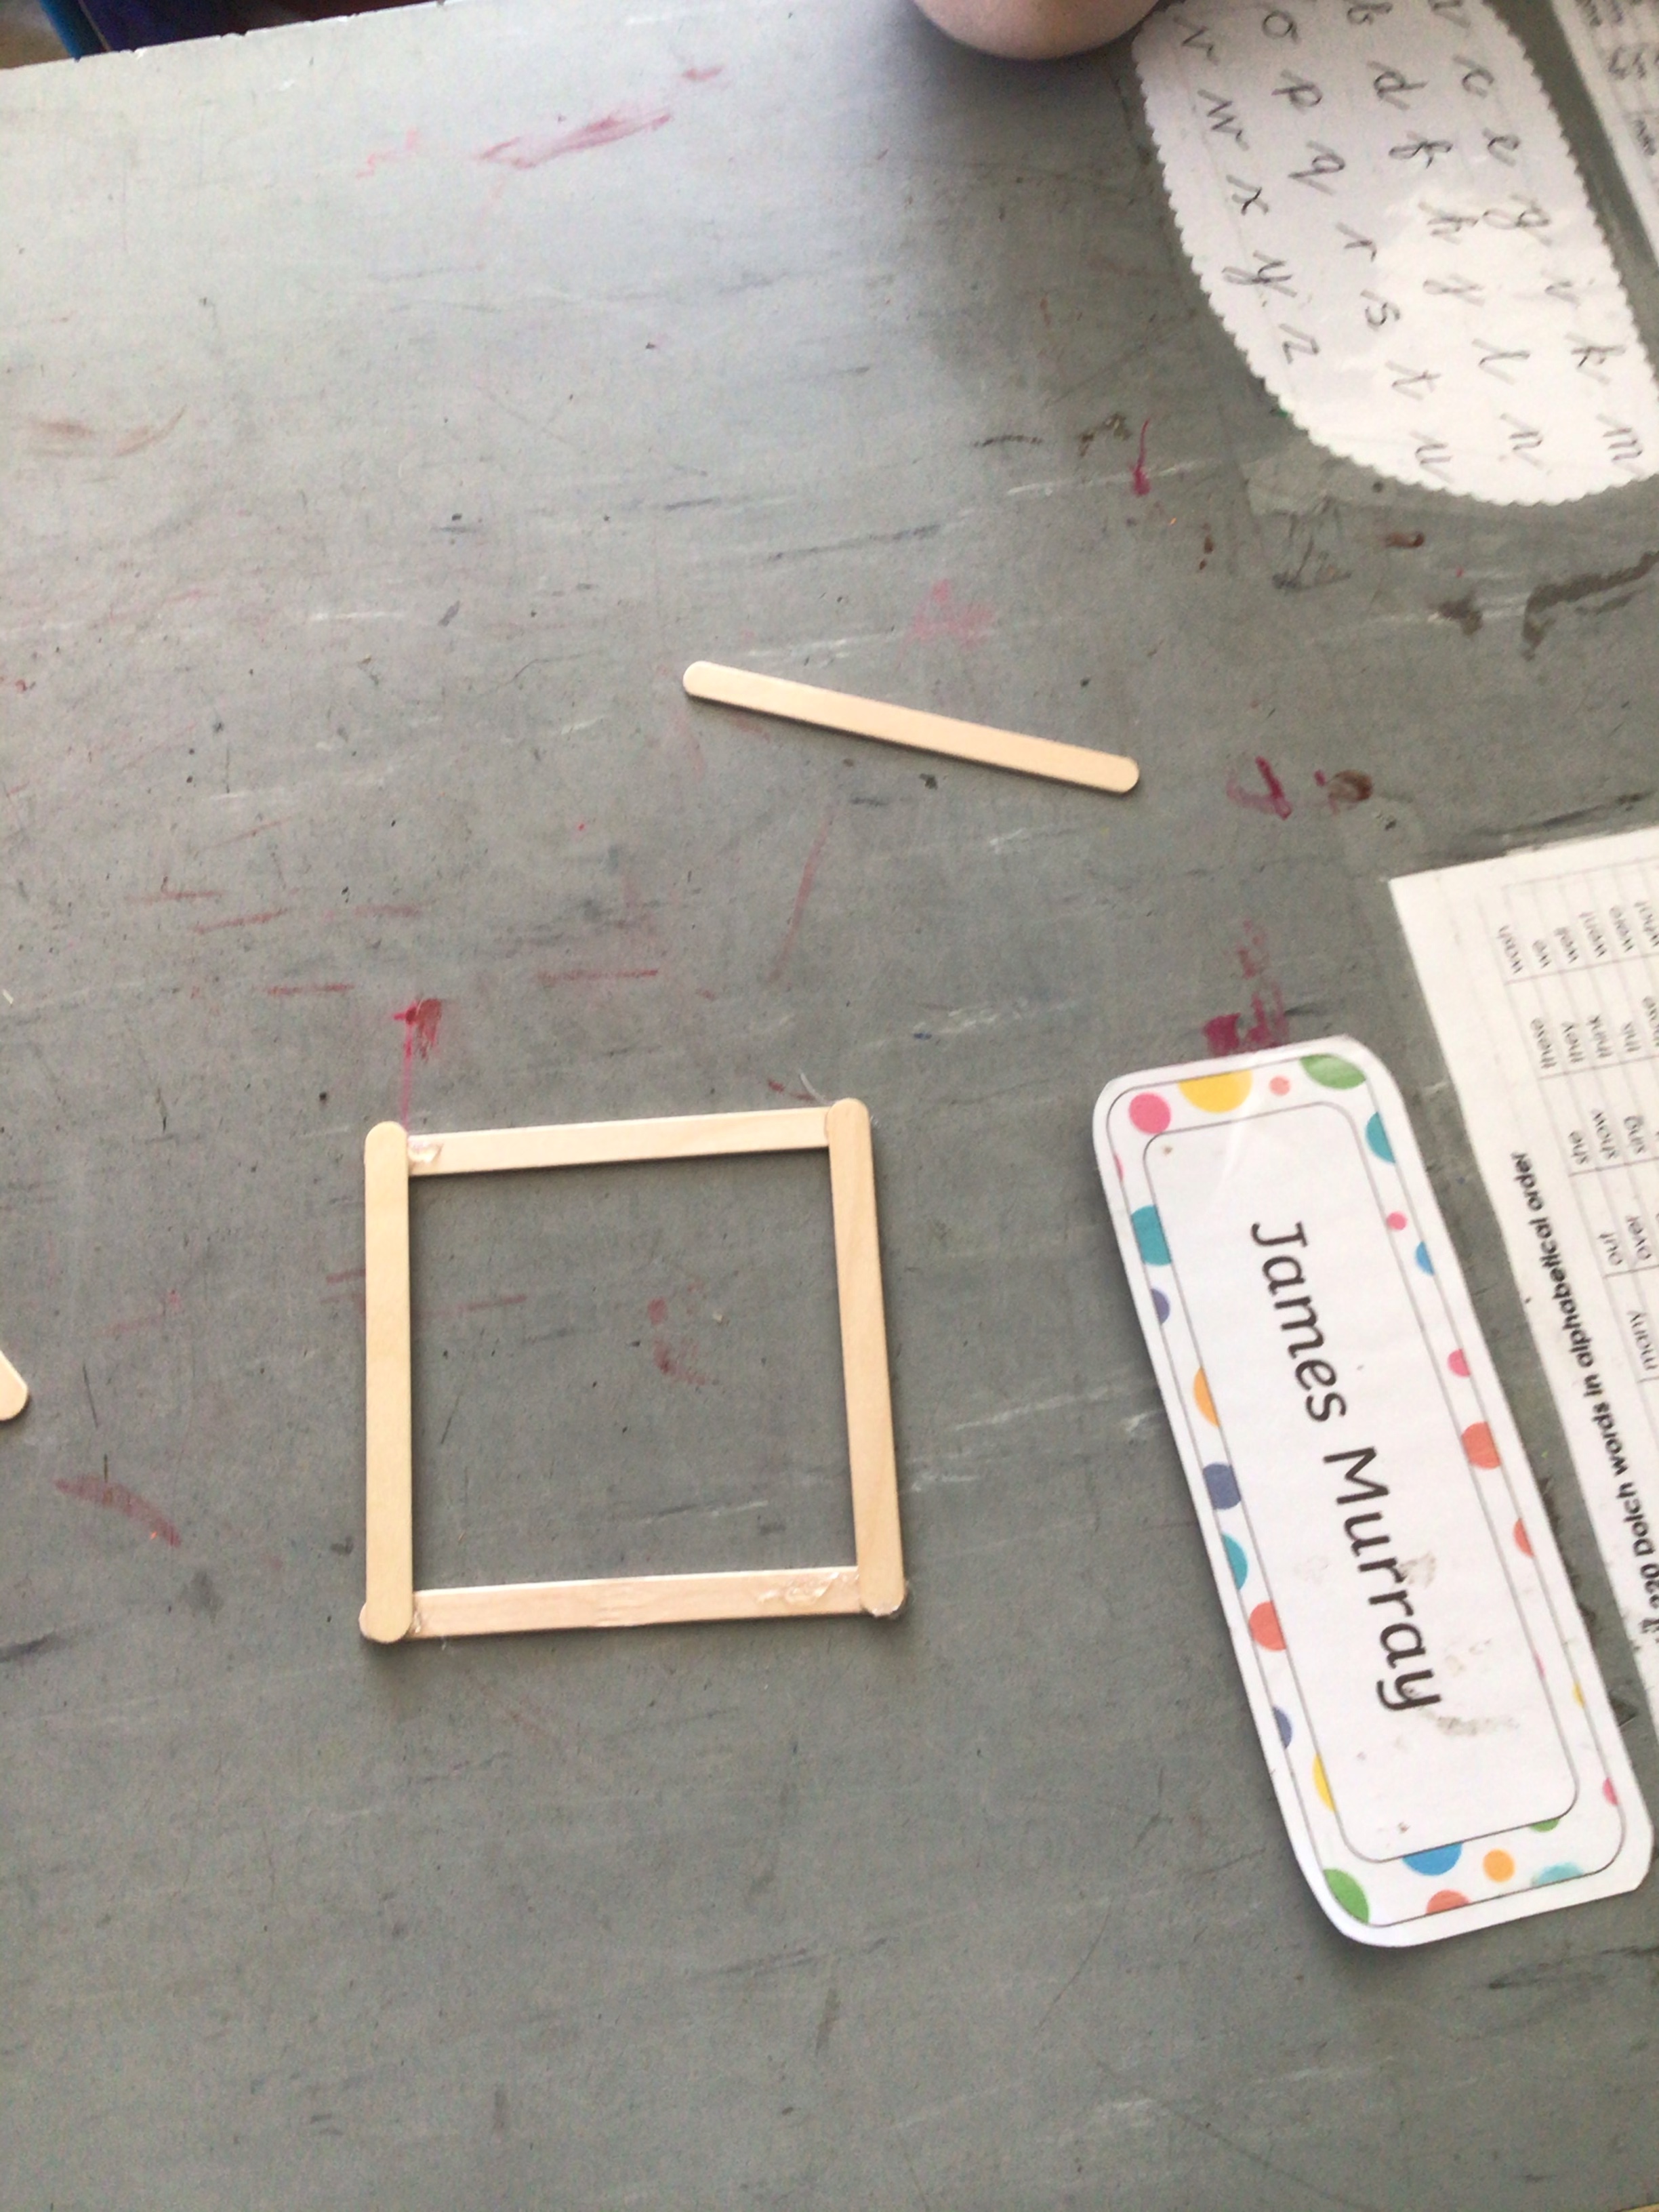
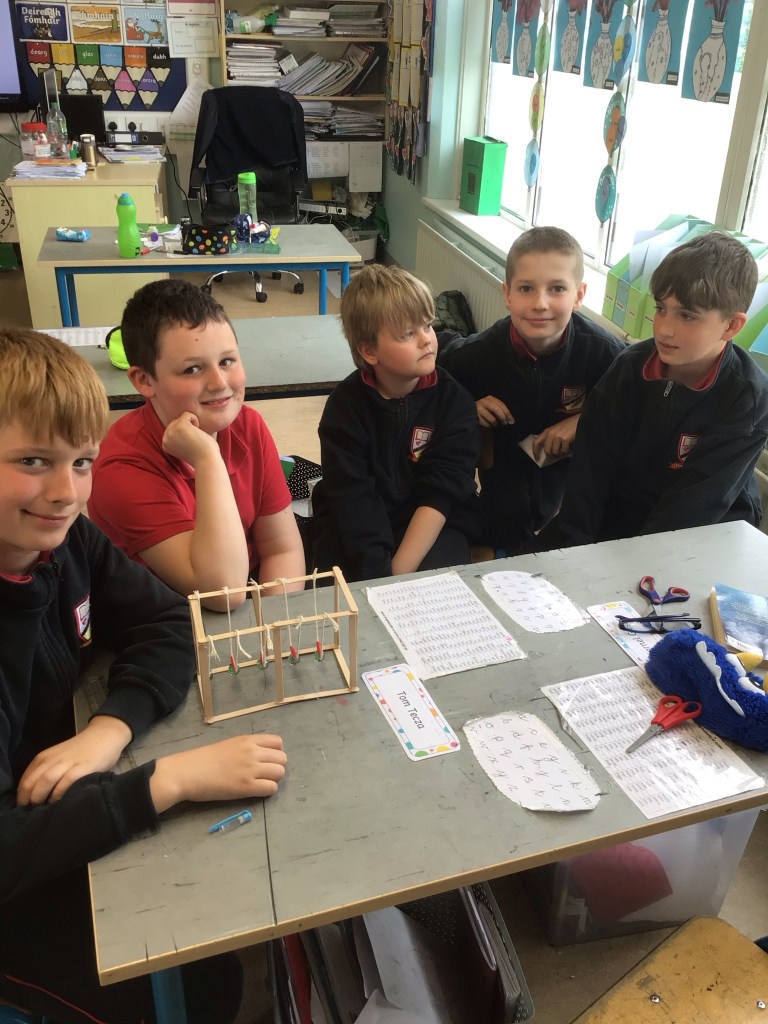
Building the frame: In their teams, the boys planned out and assembled their frames. Teacher helped to secure their frames using a hot glue gun.


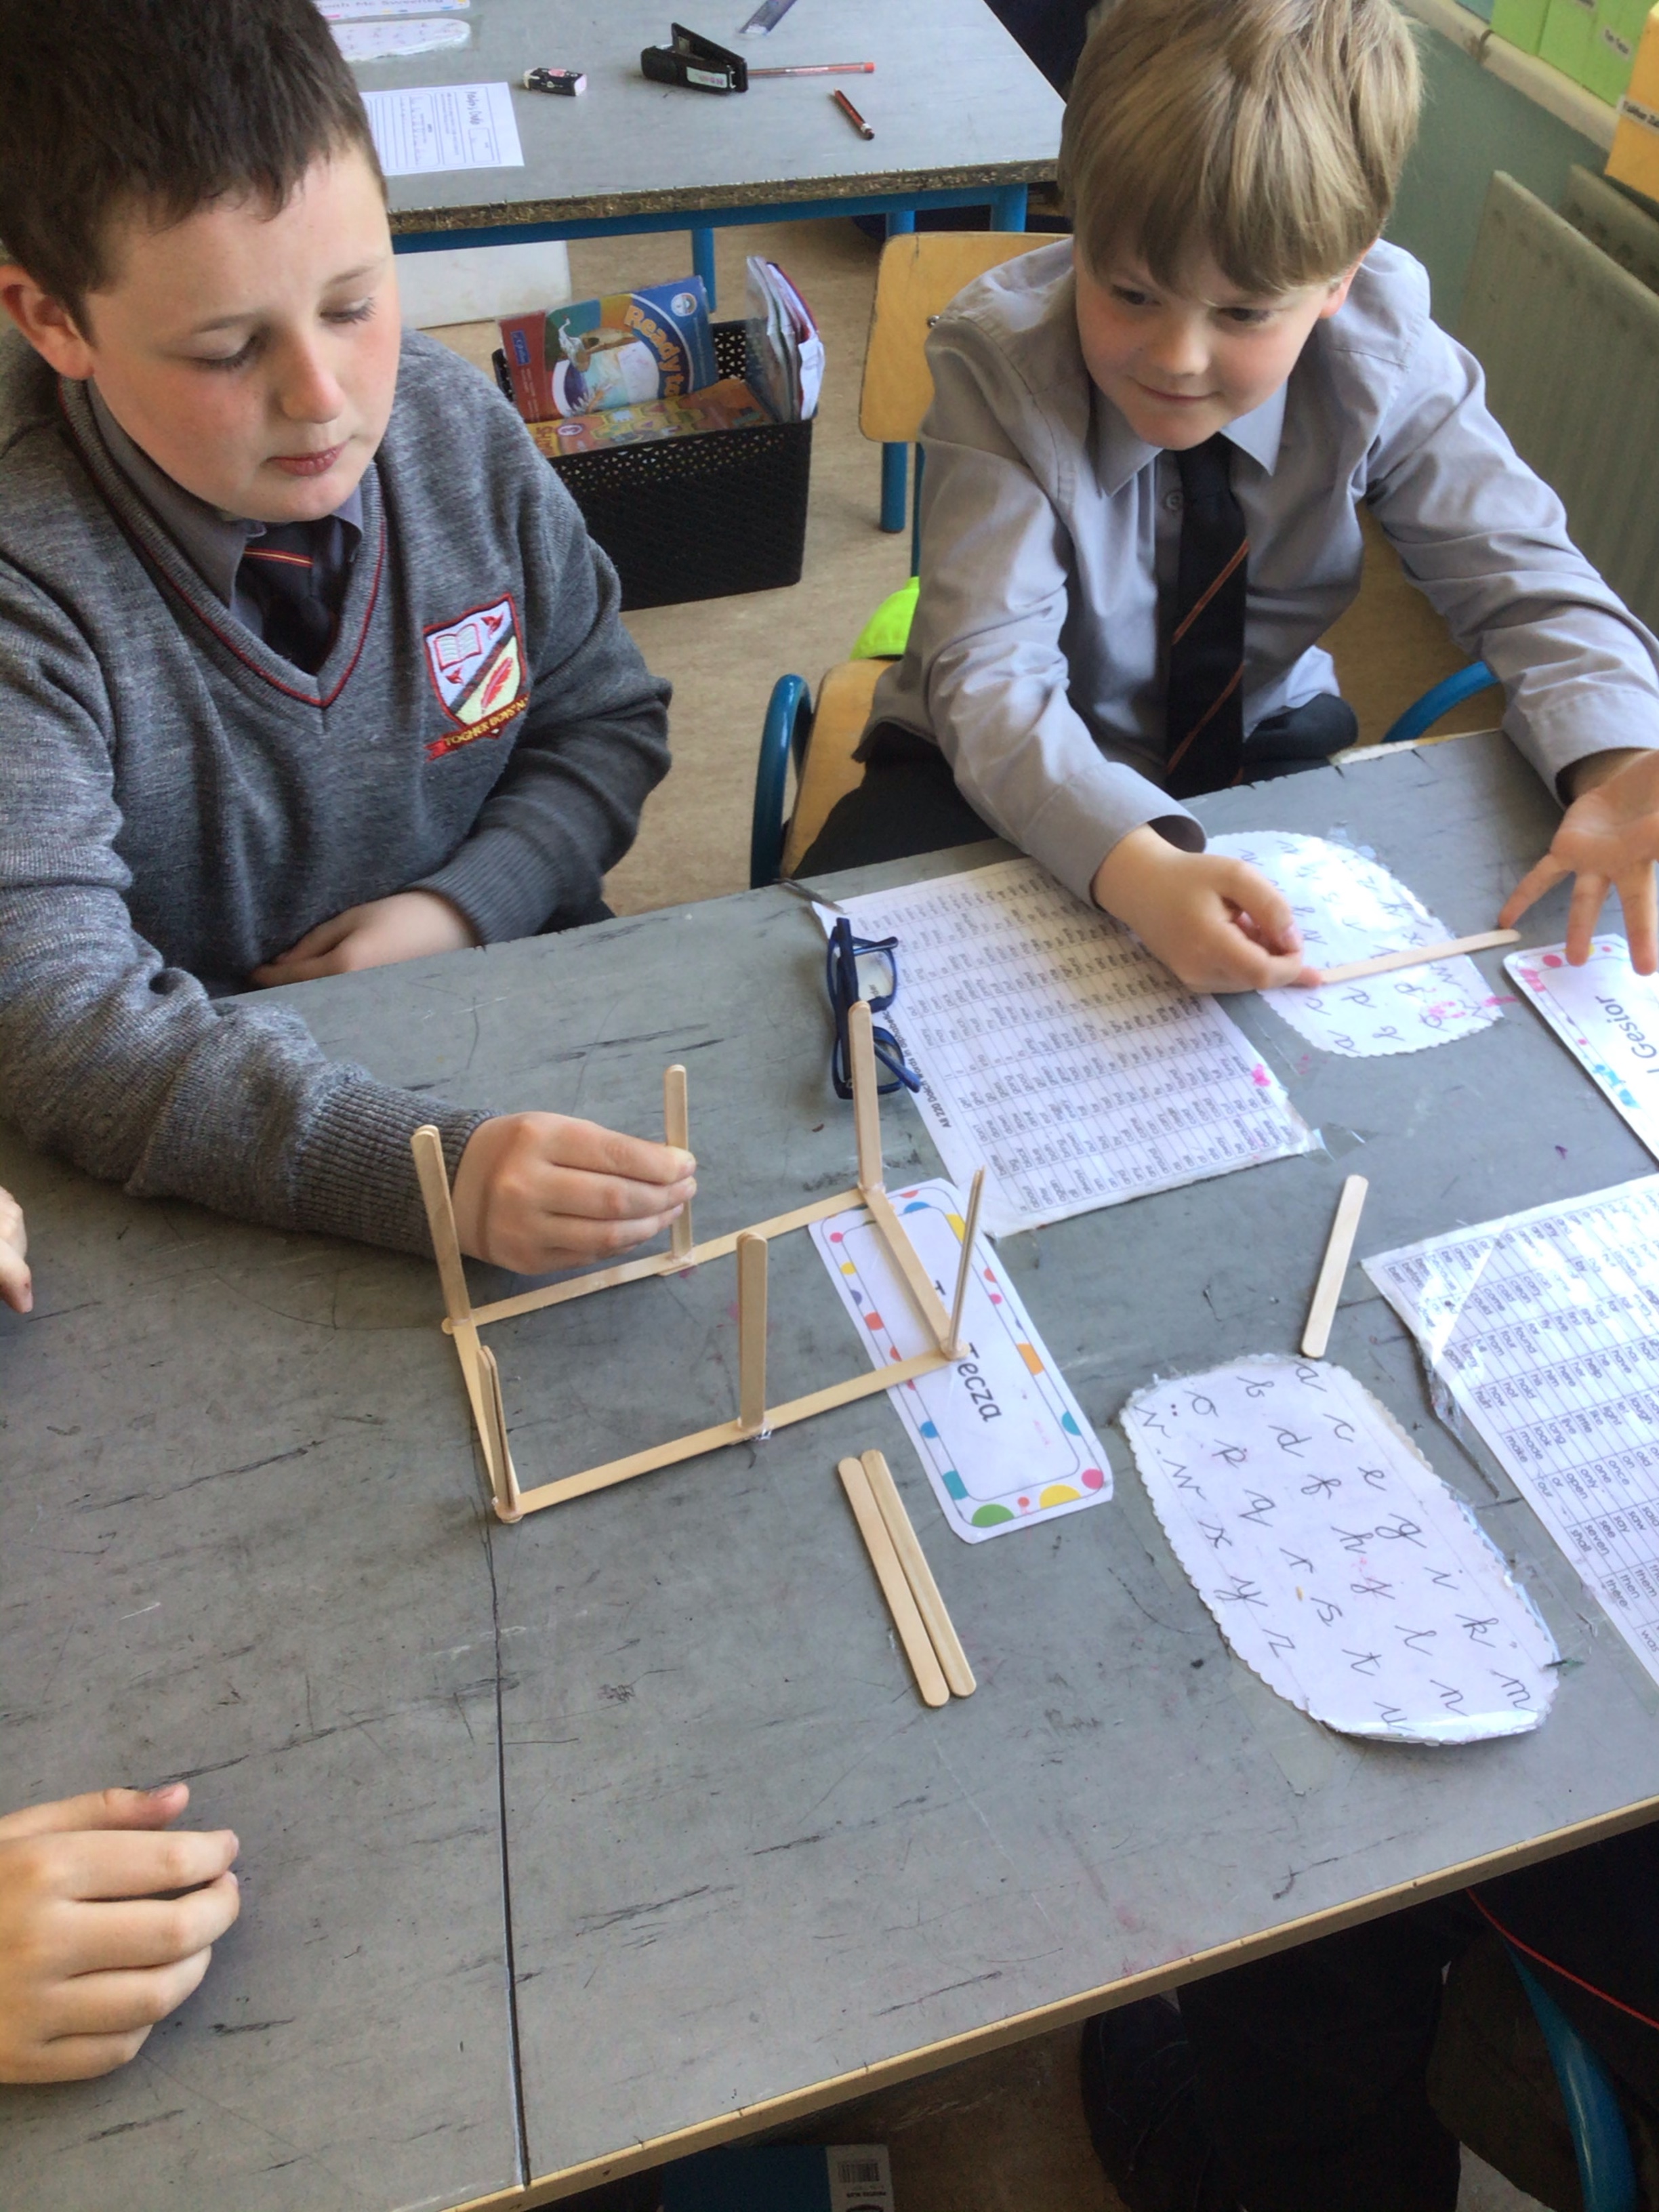


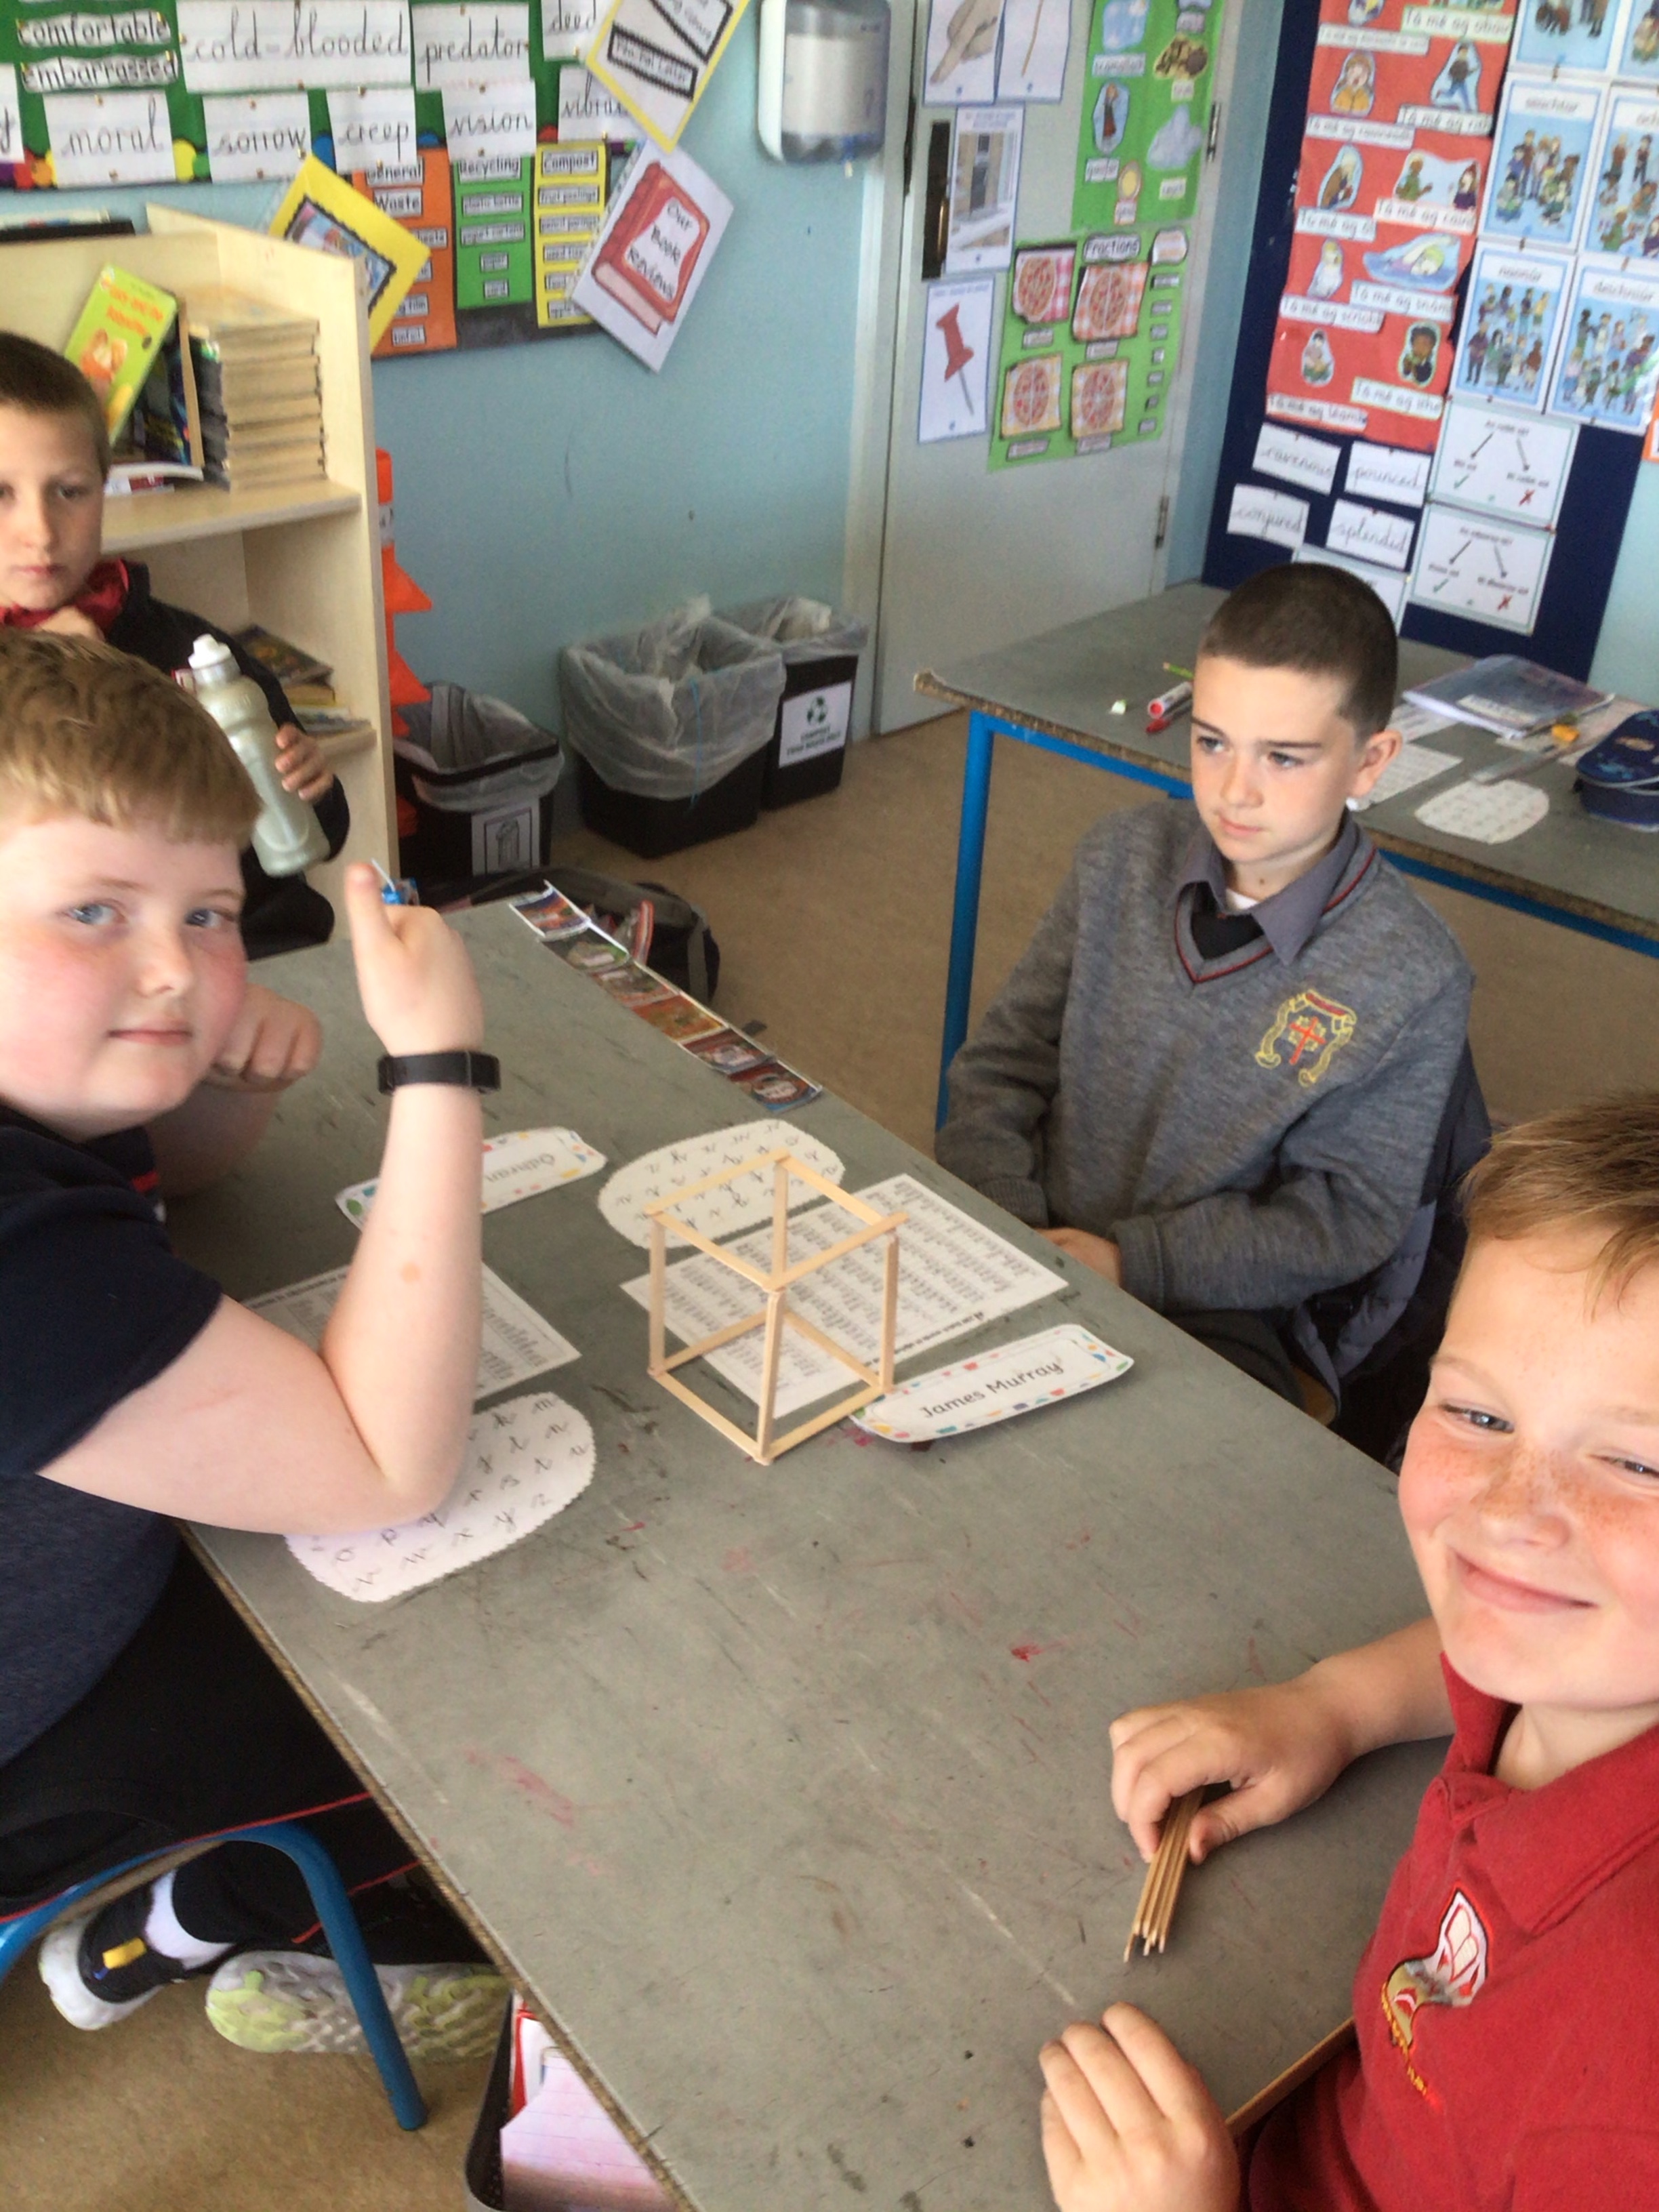

Connecting the Marbles: Our next job was to work out how to connect the marbles to the string. Each group first had to measure 5 equal pieces of string with their rulers before they attached the marbles (maths link). We also marked on the frame where we would be attaching the strings later on, measuring the exact distance in between each piece of string. Just like real scientists we discovered that we needed to come up with something to attach the marbles to the string, so we cut pieces of a straw and threaded the string through it before using hot glue to finally attach it to the marble. The boys demonstrated such patience with this part as it was particularly testing at times.


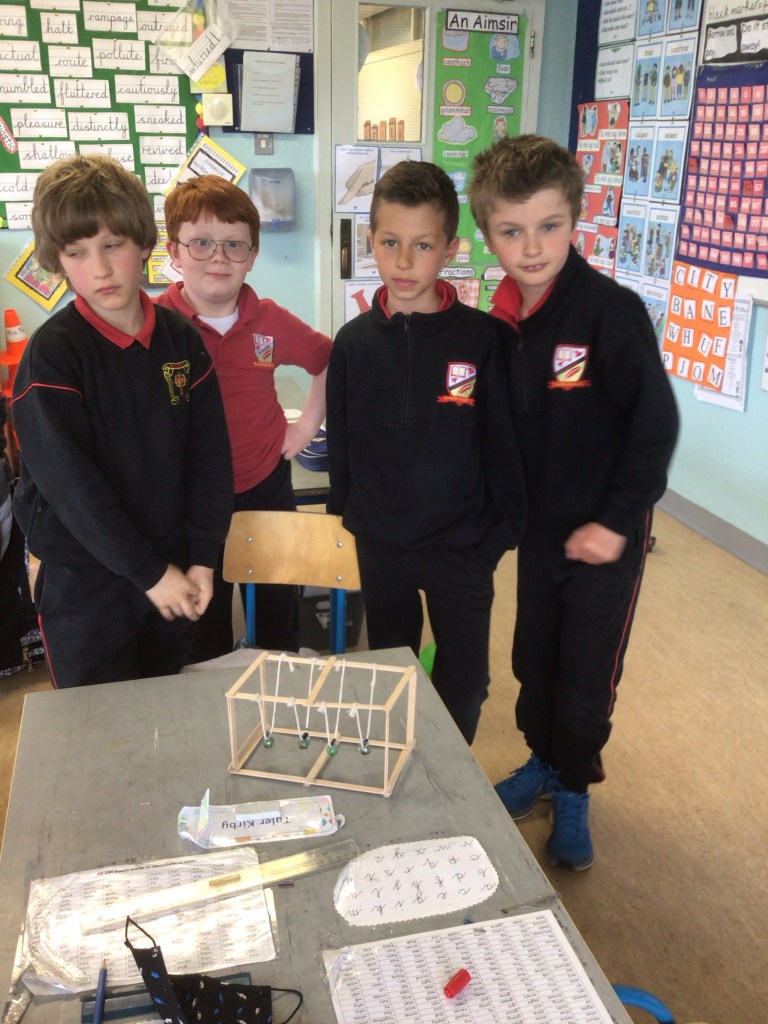
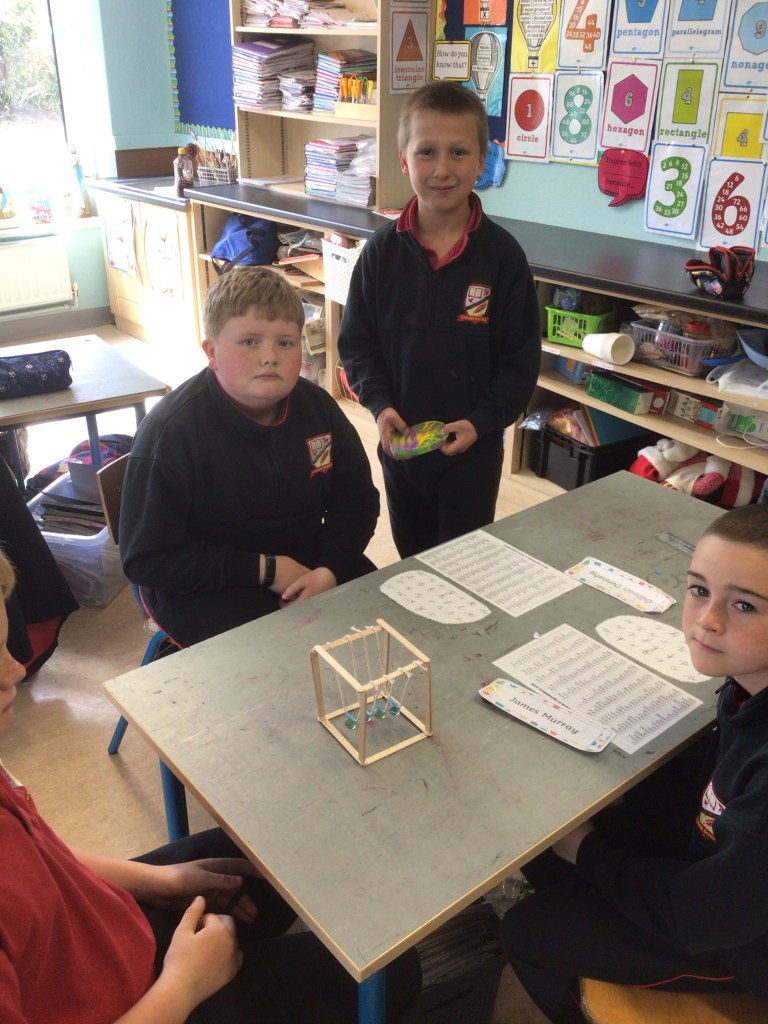
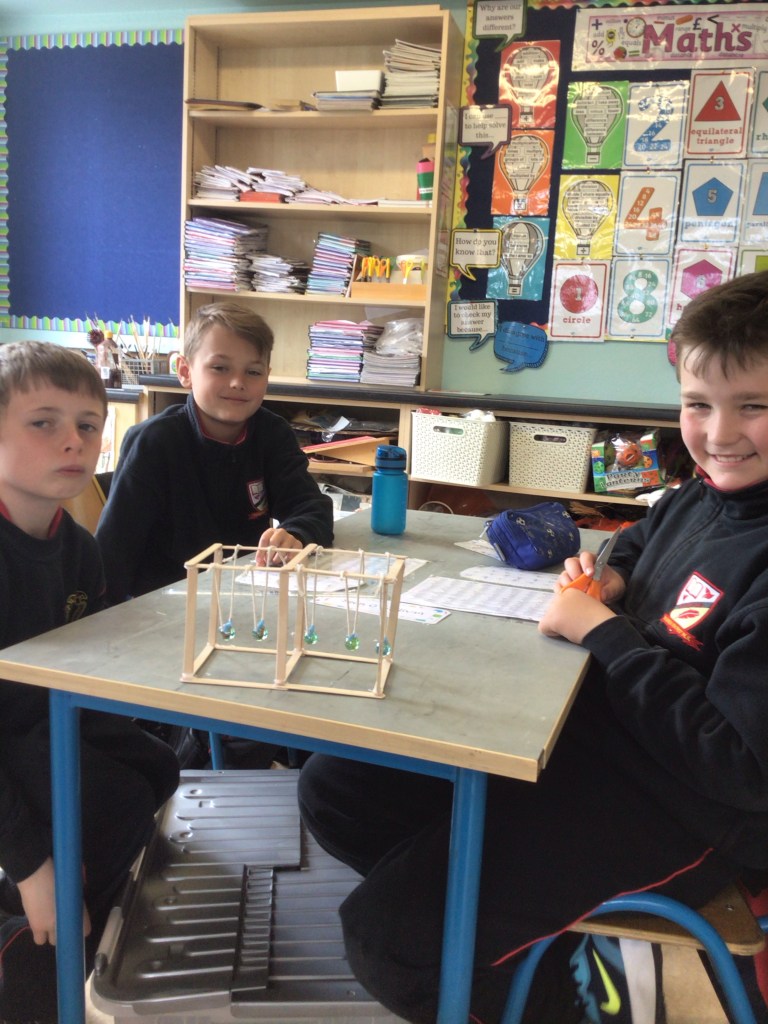
Final Step: Attaching the marble and strings to the frame: Our final step was attaching the string with the marbles to the frame. As we had measured and marked the distance in between each piece of string, we now knew where we would have to attach them. Using hot glue, we carefully attached the strings with the marbles. Our Newton’s Cradle was finally finished.
Maths links/extension ideas:
Experiment with sphere materials: try using large beads and if possible ball bearings. How do the different materials change the way this model works?
Experiment with the number of spheres: will the model work if there are 10 spheres? How about 2? What is the ideal number of spheres to use to get the most consistent reaction?
Experiment with how high you lift the marbles: what happens if you barely lift the marbles and drop them? How does that change the momentum?
Reflection: It is always so important to reflect on an experiment when it is completed. What have we learnt from this experiment? What do we want to learn more about, and why? What were we most proud of today? Did we encounter any struggles? How could we improve on this the next time? The boys demonstrated such creativity, patience and resilience while carrying out this experiment and I am so proud of them. Watch out Sir Isaac Newton, there are some budding scientists on their way to discovering the next greatest scientific theory.
